Naruto Drawing Doesn’t Have To Be Hard. Read These Tips
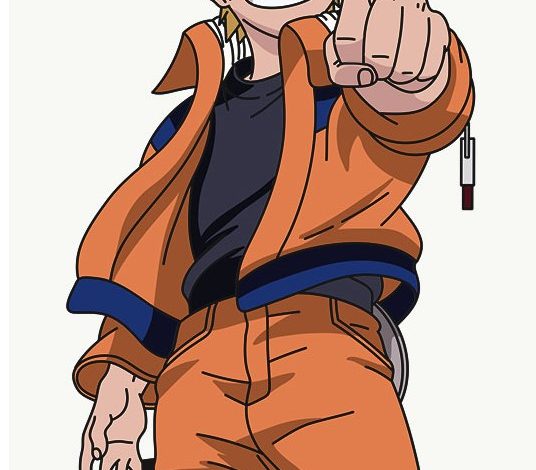
Naruto Uzumaki Drawing
Naruto Uzumaki could be a young Ninja UN agency that needs to rise to glory and eventually become the leader of his village, despite the challenges given by things on the far side of his management.
His story initially appeared within the Japanese manga Karakuri in 1995. The story was continuing in a further manga volume and also the serial Weekly Shonen Jump.
In 2002, Naruto became a tv anime series. A second series, eleven films, and several other spin-offs are created from the first plot.
Let’s learn the way to draw child Naruto from Naruto today! Naruto Uzumaki (うずまきナルト, Uzumaki Naruto) could be a shinobi of Konohagakure and a descendant of the Uzumaki kindred. You can teach your kids spider-man drawing from our websites
Step 1
As always, all the blue and simple lines area units are simply construction lines and can be erased later, thus don’t progress your pencil an excessive amount. I’ll try and be super-efficient with the text. Therefore I’ll solely describe steps that need rationalization.
Make sure to depart enough free house on paper for consequent steps. You’ll see what proportion house you’ll like from the dimensions of the shape during this image.
Step 2:
Next, draw two crossed lines across the circle, one vertical line, and one horizontal line. Once drawing the lines, bend them so that they follow the contour of the form. These are going to be construction lines that will assist you in placing Naruto’s options soon.
Step 3:
Now draw Naruto’s eyes, that area unit 2 tiny ovals that sit on high of the horizontal construction line and either facet of the vertical construction line.
Step 4:
Draw in Naruto’s nose, which could be a tiny curving line below the horizontal construction line and to the left of the vertical construction line. Draw Naruto’s mouth below his nose as two curving lines check a letter D on its facet.
Step 5:
Draw the guide for Naruto’s band that consists of 2 lines higher than his eyes that follow the form of the horizontal construction line. On the proper facet of his head and below the headscarf form, draw an extended curve that appears like a backward letter C. This line is going to be his ear. Dorj blog
Step 6:
that is it for the initial sketch of Naruto, the manga character! You have got the basic Naruto form, thus currently, go into and tighten your drawing. From now on, press tougher together with your pencil to urge darker lines and many outlined sketches.
Step 7:
Tighten the shapes of Naruto’s eyes and draw the lines thicker on high to simulate eyelashes. Draw a series of lines higher than every eye and below the headscarf to make his eyebrows.
Step 8:
attract two circles within Naruto’s eyes for his irises and draw a thick dot within the middle of the irises for his pupils. Within the high left corner of every one of his irises, draw a tiny low circle to represent glare.
Step 9:
Darken within the form of Naruto’s nose and draw two tiny dots simply to the proper of it to point his nostrils.
Step 10:
Tighten the form of Naruto’s mouth by stretching it a lot to the proper to grant him a smirk. Draw two jagged lines inside it to represent his teeth. Draw a tiny low line below the mouth to form Naruto’s lower lip.
Step 11:
Naruto’s hair could be a bit tough. Thus this section concerning a way to draw Naruto’s hair is dampened in 2 elements. You only ought to draw a series of curving triangles higher than his band.
Step 12:
Draw the opposite 1/2 Naruto’s hair mistreatment a lot of curving triangles. Take care to draw a handful of hair clumps overlapping Naruto’s band to indicate that they are ahead of it.
Step 13:
Darken within the form of Naruto’s band. Create it more comprehensively on the perimeters; thus, it comes out of the pinnacle form slightly. Within the headscarf, draw his metal plate, which could be a parallelogram with rounded edges. Draw many lines within the parallelogram close to the highest to grant it thickness and dimension.
Step 14:
Draw the form inside Naruto’s band that is simply a coil with a triangle returning off the lower left facet. Attract three tiny circles on either aspect of the plate to represent the hardware that keeps it hooked up to the headscarf.
Step 15:
Tighten the form of Naruto’s face by creating it narrower. Draw the proper facet of it; thus, it comes up on the within of his ear. Attract some jagged lines on the appropriate aspect below the headscarf to represent Naruto’s side-whiskers.
Step 16:
outline the form of Naruto’s ear by drawing many lines within it to represent its structure. Below Naruto’s ear, draw many jagged lines to represent the rear a part of his hair.
Step 17:
attract Naruto’s neck below his head and add three lines on either facet of his cheeks.
Step 18:
that is it! You currently have a pleasant sketch of Naruto, the manga character. You’ll stop at this fast drawing for a rough, incomplete look or opt for a lot of finished look by continuing to the step below.
Step 19:
For many finished, inked looks, rigorously draw over the ultimate sketch lines with a pen or marker. Anticipate the ink to dry, so eliminate each pencil mark with associate degree implement. You currently have a finished inked drawing of Naruto! You’ll stop here or attend the ultimate step to complete your Naruto drawing.
Final Step:
For a finished Naruto drawing, you have got to paint it. You’ll use markers, color pencils or perhaps crayons! Color Naruto’s hair and eyebrows yellow, his band dark grey, and also the metal plate lightweight grey. His eyes area unit blue, and his skin is peach. Anticipate the ink to dry, so eliminate each pencil mark with associate degree implement. You currently have a finished inked drawing of Naruto! You’ll stop here or attend the ultimate step to complete your Naruto drawing. If you do not have peach, improvise and use yellow-orange or brownness. Experiment! that is it! You currently have a completed drawing of Naruto.